In the fast-paced world of digital content creation, the difference between a video that gets scrolled past and one that stops the scroll often comes down to a fraction of a second. That split-second moment where one scene shifts into another is more than just a functional change it’s the heartbeat of your visual storytelling.
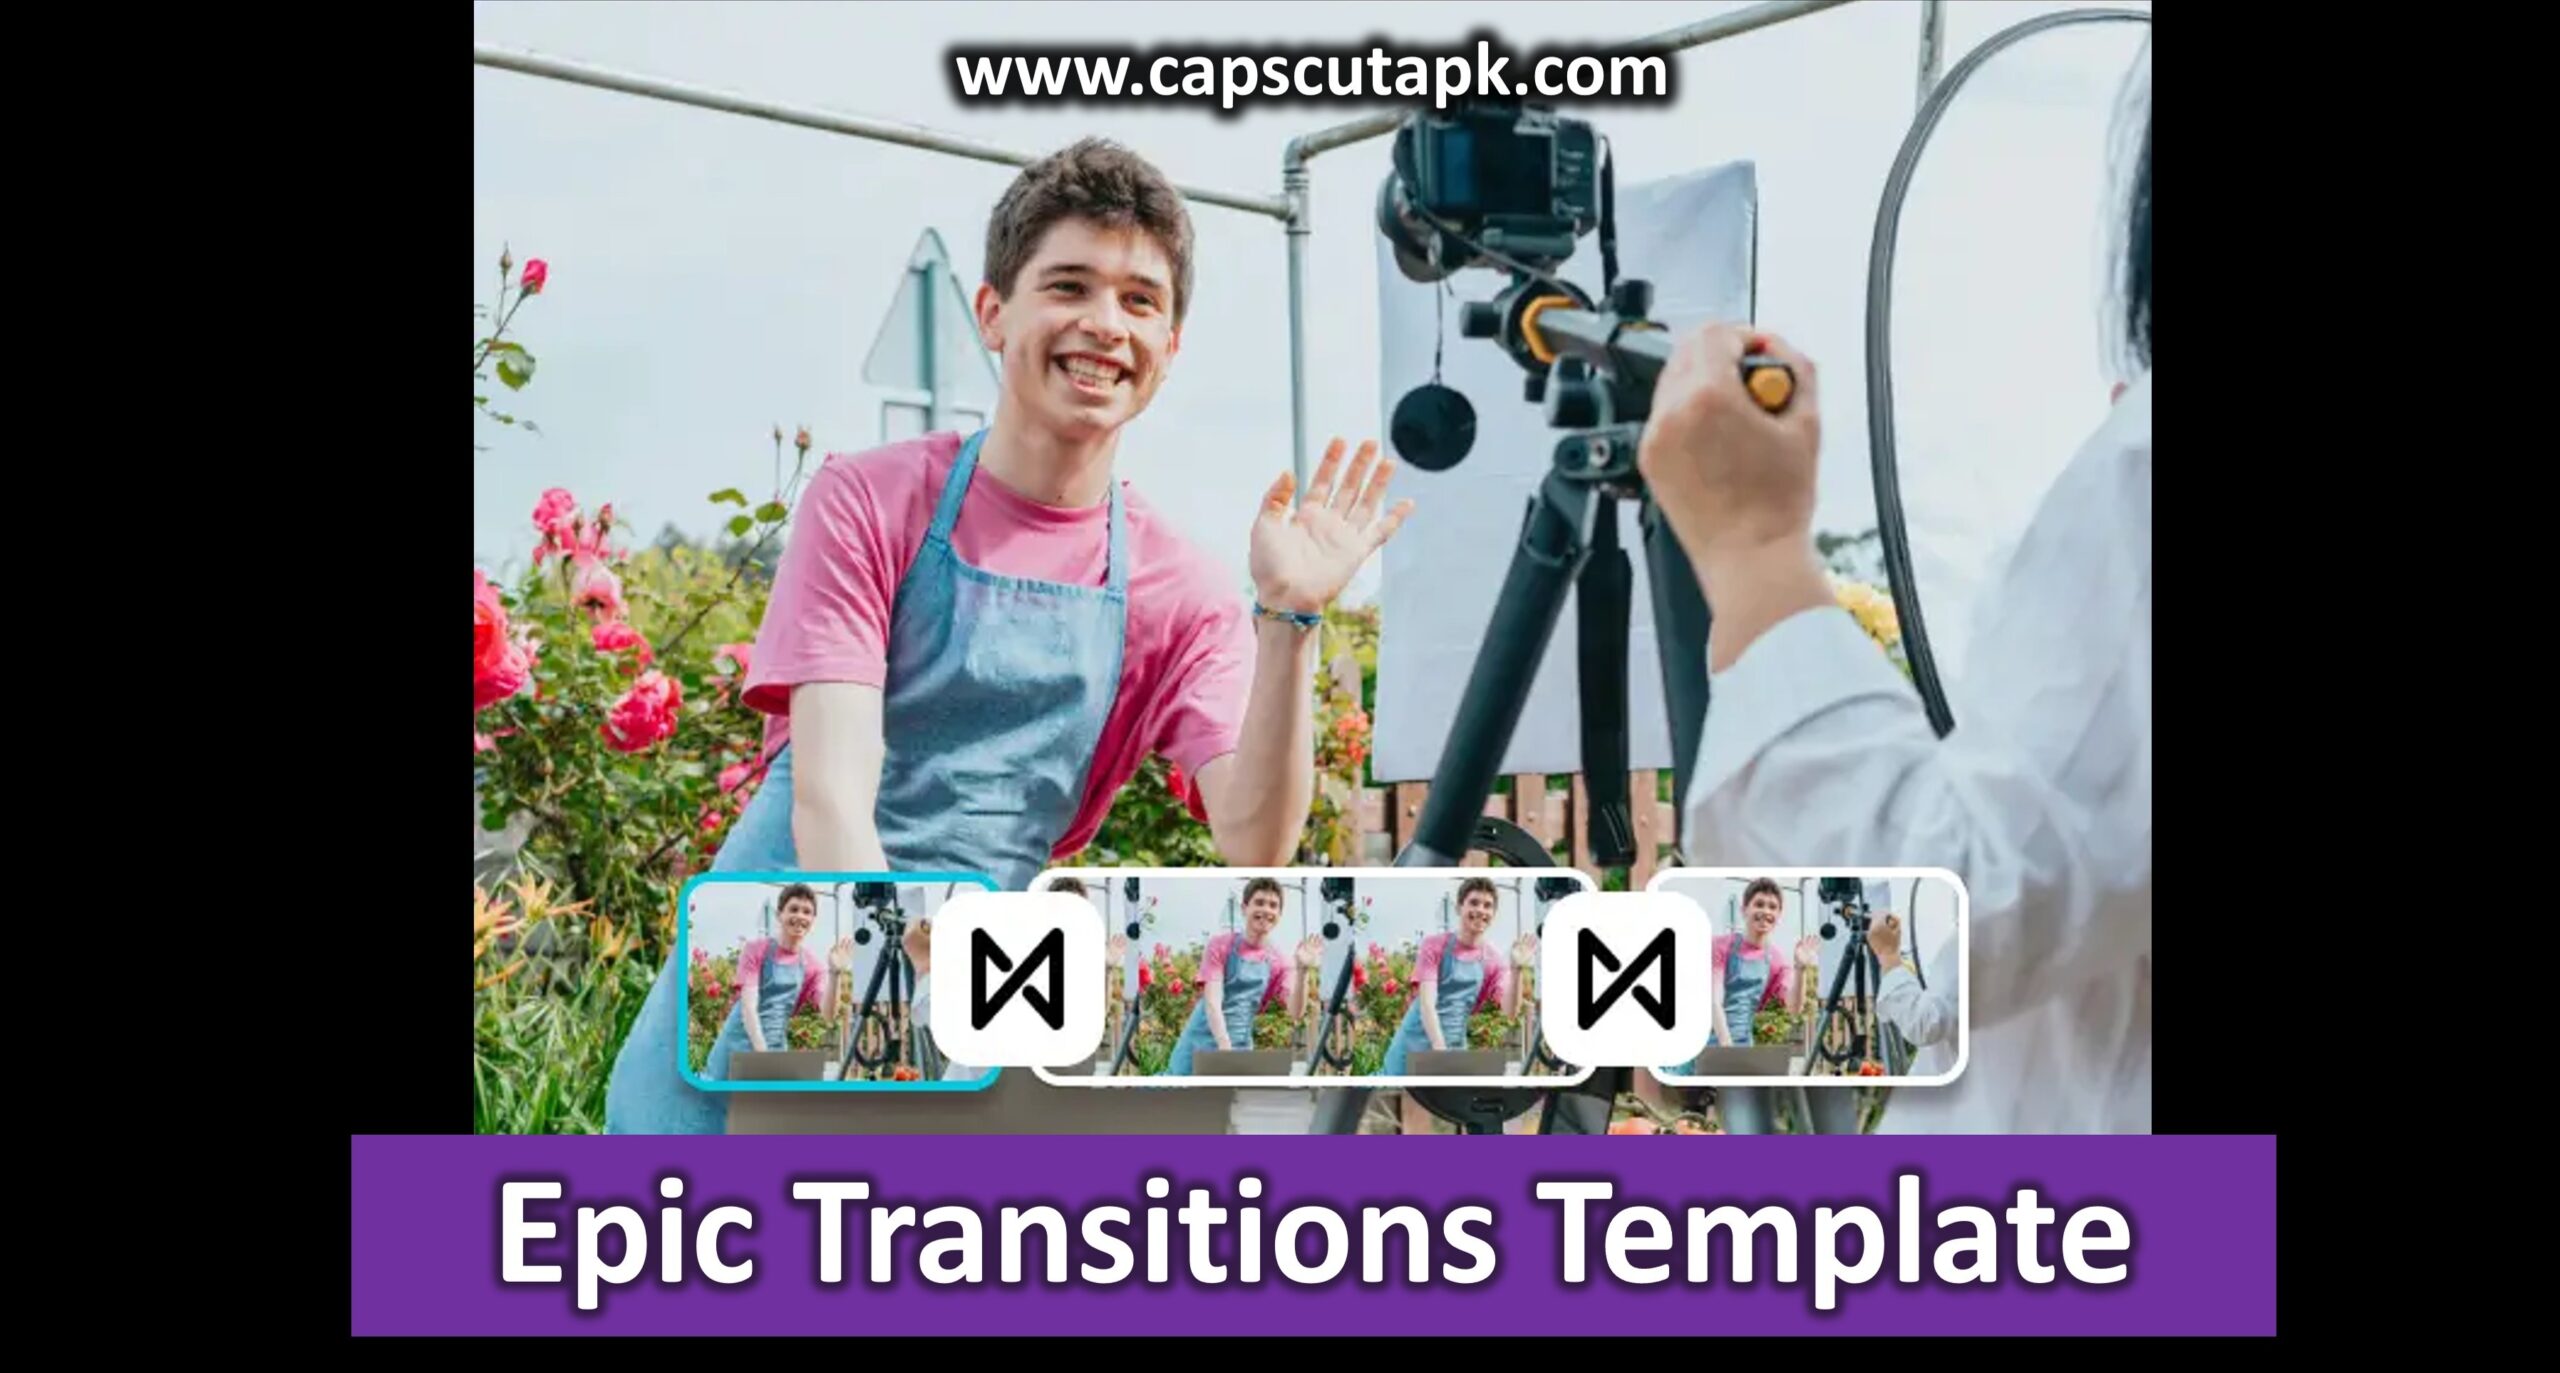
If you’ve ever watched a travel vlog that felt like a seamless journey or a gaming montage that pulsed with energy, you’ve witnessed the power of an “epic transition.” Today, we are diving deep into how you can recreate this magic using CapCut. Whether you are editing on a high-powered PC, tweaking clips on the web, or cutting on the fly with your mobile, this guide will walk you through the technical steps and creative philosophies behind the perfect cut.
What Actually Makes a Transition “Epic”?
Before we start clicking buttons, it is crucial to understand the theory. An “epic transition” isn’t just a flashy effect you slap between two clips. According to expert editors, it is a blend of three specific elements: strong motion continuity, musical sync, and clear direction.
When we talk about motion continuity, we are thinking in vectors. Imagine your camera is panning to the right in the first clip. For the transition to feel “epic” and seamless, the incoming clip should also carry that rightward movement. This tricks the brain into seeing a single, continuous flow of energy rather than two disjointed video files.
Musical sync is the second pillar. Your cuts should hit when the beat drops or a riser peaks. This rhythm reinforces the visual impact, making the video feel like it is dancing to the audio.
Finally, we have foreground occlusion and light hits. These are the secret spices. Using an object passing in front of the lens (occlusion) or a sudden flare of light can hide the actual cut point, making the transition feel like magic.
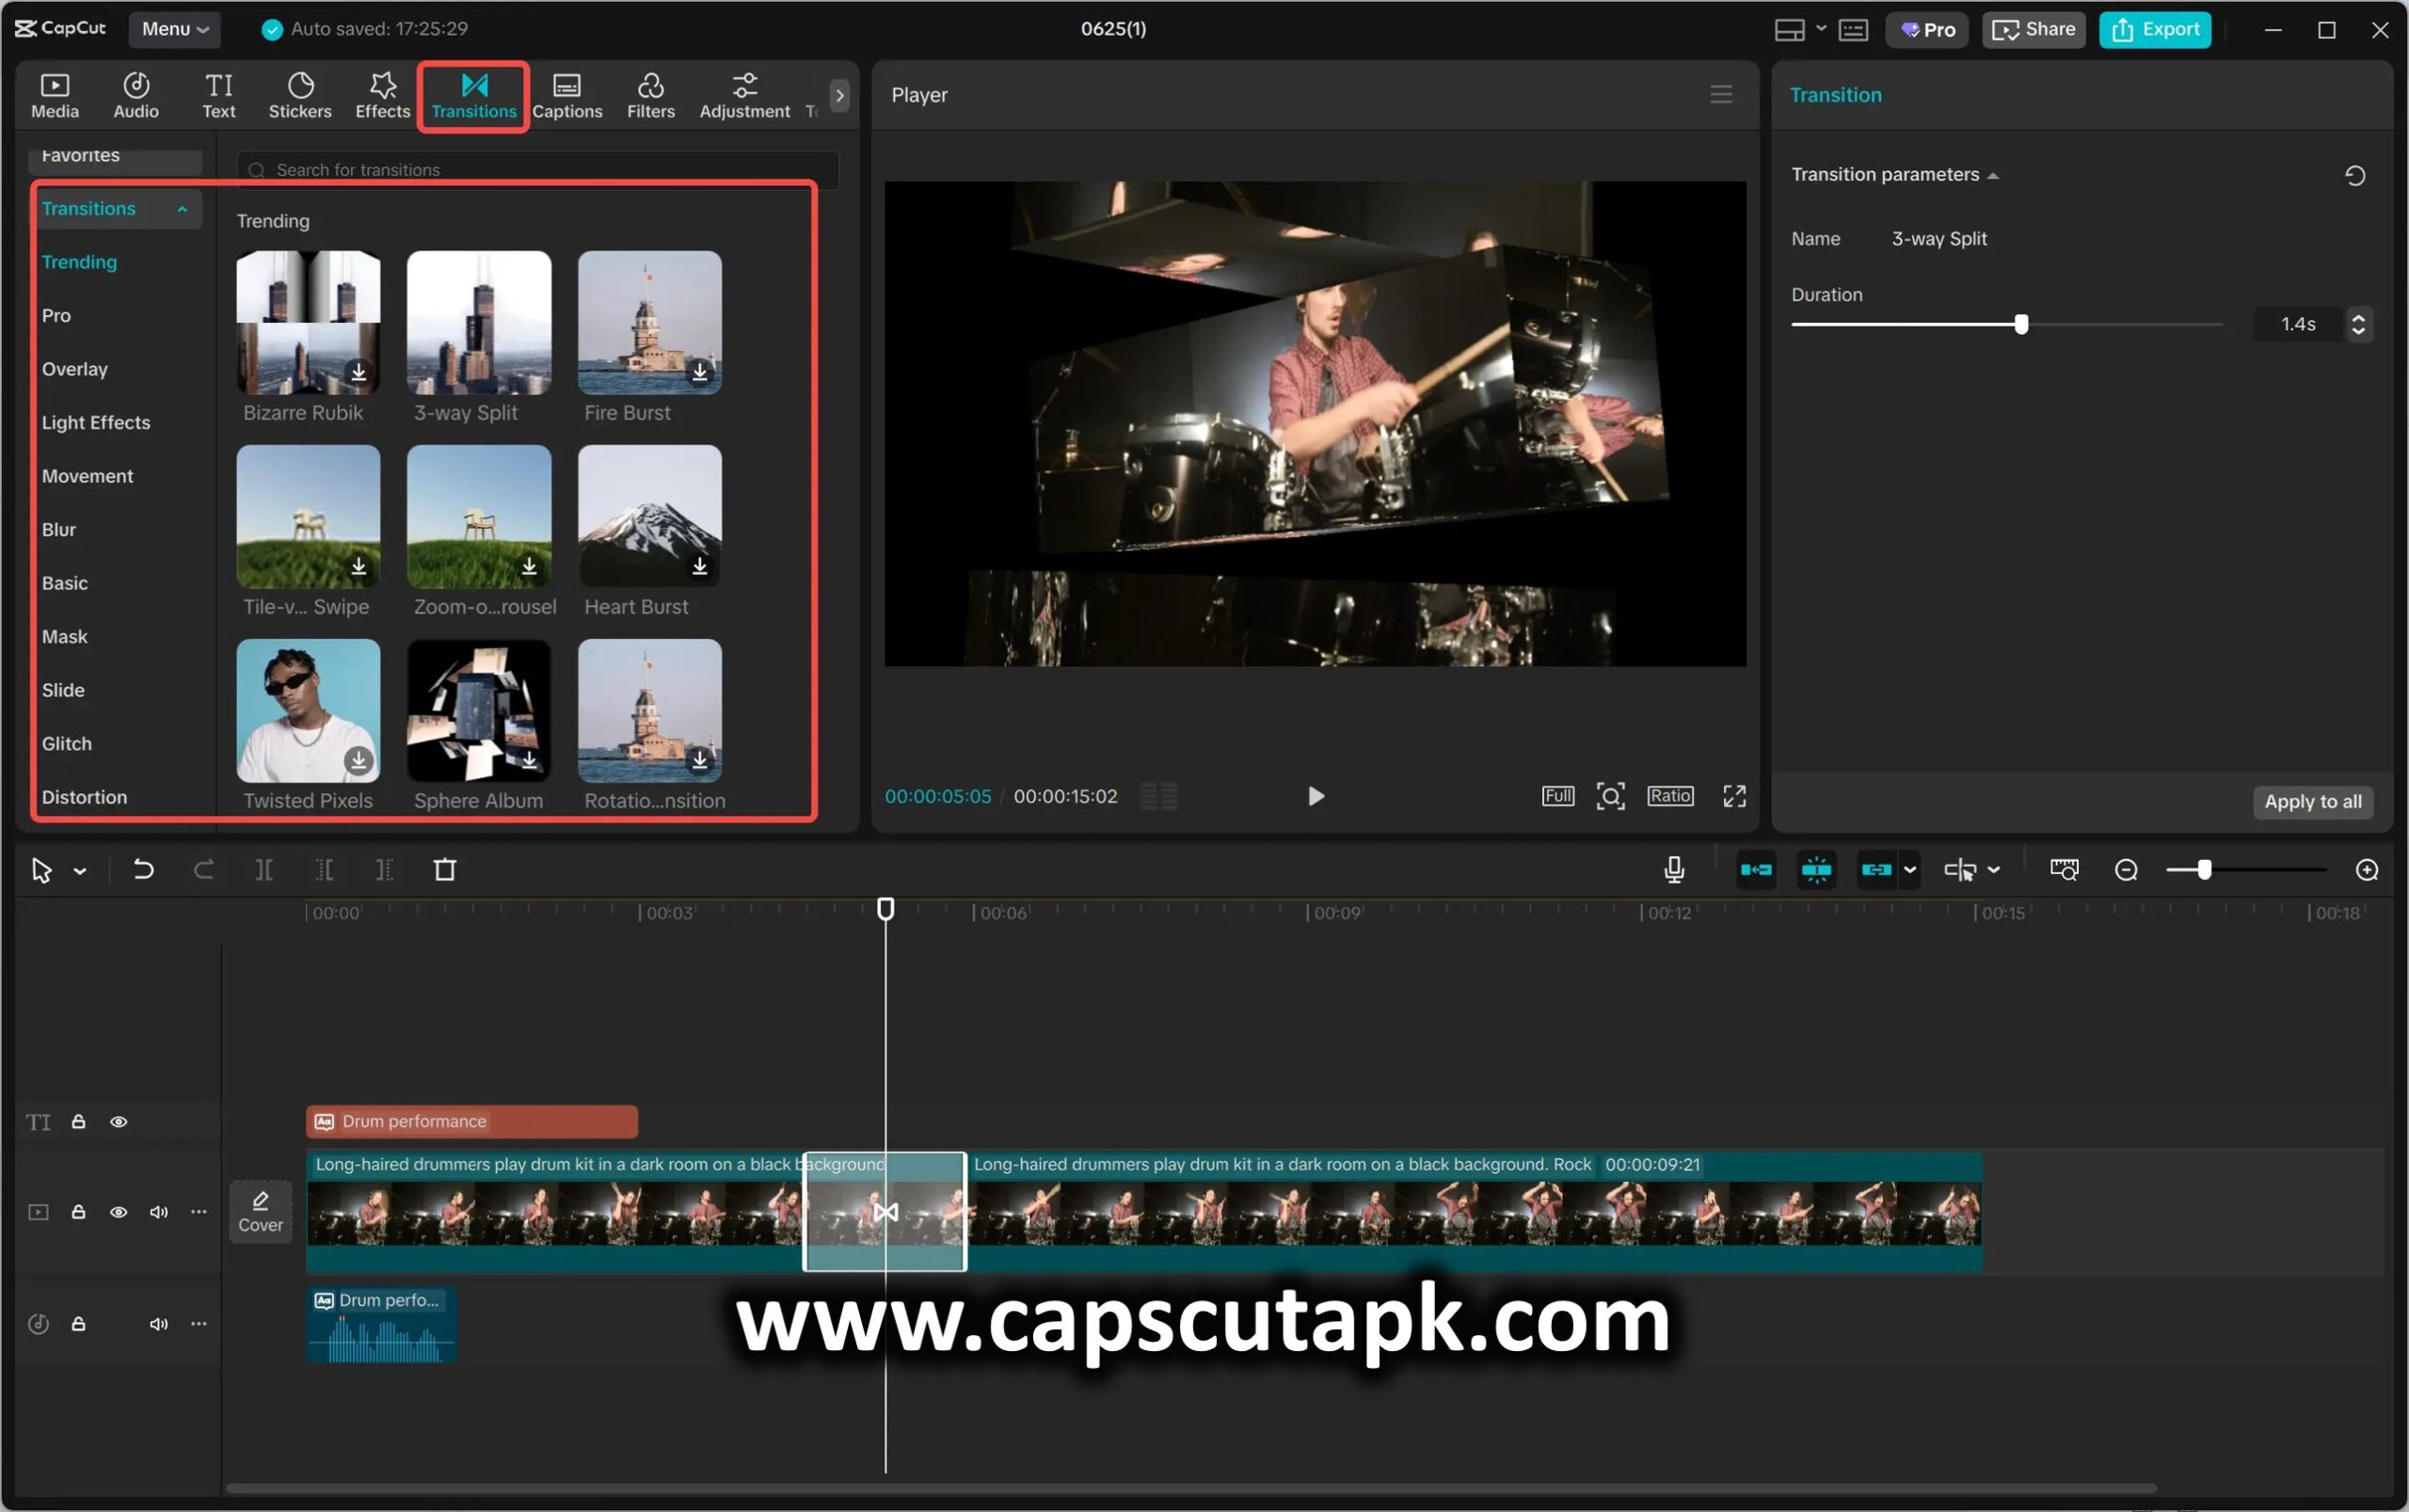
The PC Workflow: Precision and Control
For those who want the granular control of a desktop environment, CapCut’s PC version is your playground. Here is how to build those cinematic scene changes from scratch.
Step 1: Preparation is Key
Everything starts on the timeline. Import your clips and place them in order. The golden rule here is to trim to action peaks. Don’t let a clip linger after the action has finished; cut it right at the moment of highest movement or intensity.
Crucially, you need to listen to your audio track. Add markers on the beats. These visual guides will tell you exactly where your transition needs to land. A seamless transition happens when the cut point aligns perfectly with peak motion and a beat marker.
Step 2: applying the Transition
Head over to the Transitions tab on the left panel. CapCut organizes these into categories like Pro, Hit, Overlay, and Light.
- Hit: These are perfect for punchy, high-energy beats (think action movies or trap music).
- Overlay: ideal for smoother, motion-matched blends.
- Light: Great for mellow, dreamy passages or travel content.
- Pro: Polished, cinematic looks that feel like high-budget productions.
Click a transition to apply it between your clips. It will automatically snap to the cut point.
Step 3: Fine-Tuning the Duration
This is where the amateur is separated from the pro. An epic transition should generally be snappy—usually between 8 to 20 frames. If it drags on too long, you lose the momentum.
Nudge the transition handle to align it perfectly with your beat marker. If you are editing an upbeat track, keep it tight (closer to 8 frames). If you are working on an ambient, slow-burn piece, you can afford to let it glide a bit longer.
Step 4: Iterate and Preview
Play it back. Does it feel right? If the motion vector feels off—for example, if you used a “Zoom In” transition but the camera was pulling out—swap it. Try a different category. Maybe Overlay works better than Hit for this specific cut. Save your best sequences as presets so you can reuse them later.
The Web Workflow: Elevating with Effects
Sometimes, a transition alone isn’t enough. You need to dress it up. This is where CapCut’s web editor shines, specifically with Video effects.
To add that extra layer of polish, go to Effects > Video effects. You aren’t looking for a transition here; you are looking for effects to layer on top of the transition area.
A classic technique is to apply a strobe effect exactly on a beat drop, right over the cut. This adds a visual flicker that heightens the intensity. Alternatively, use light leaks or subtle blur. Drag the effect’s in and out points so they land just before and after the cut. This technique “hides” the edit even further, making the switch between clips imperceptible.
Remember: these effects are meant to amplify the cut, not replace it.
The Mobile Workflow: Speed via Templates
Let’s be honest—sometimes you need to get a video out on TikTok or Instagram now. This is where CapCut Templates on mobile are a lifesaver.
When browsing templates, look for ones that prioritize motion continuities. Good templates will already have the beat markers and transition durations locked in. Your job is simply to swap the media.
Ensure the aspect ratio matches your platform (usually 9:16 for vertical video). Also, pay attention to pacing. Templates with shorter transition durations generally feel more energetic and “viral-ready.”
Style Recipes for Cinematic Cuts
Stuck on what to combine? Here are three “recipes” you can cook up immediately:
1. The Action Montage
- Context: Sports highlights or fast-paced vlogs.
- The Mix: Use a Hit transition on the PC timeline. Layer a light leak effect via the web editor over the cut.
- Why it works: The “Hit” provides the physical impact on the drop, while the light leak adds a flash that emphasizes the collision of scenes.
2. The Travel Vlog
- Context: Scenic shots and city explorations.
- The Mix: Use a mobile template that is transition-forward. Keep the duration tight (12–16 frames). Add a subtle vintage effect.
- Why it works: It keeps the story moving without being jarring. The vintage effect adds warmth, making the transitions feel nostalgic rather than aggressive.
3. The Music Edit
- Context: Music videos or dance covers.
- The Mix: Mark your beats religiously. Use Overlay transitions on the PC. Save a Strobe effect for only the biggest bass drop in the song.
- Why it works: Overlays provide a smooth, liquid blend that suits the flow of music, while the Strobe acts as a punctuation mark for the chorus.
Frequently Asked Questions
How do CapCut transitions differ from cinematic cuts in other apps?
CapCut simplifies the complex. Categories like Pro, Hit, and Overlay are pre-engineered to look cinematic without requiring you to manually keyframe every motion blur or zoom. You get the professional look while retaining control over timing.
What is the best timing for mobile templates?
Aim for that 8–20 frame window for upbeat tracks. If the song is slow, you can extend it. The beauty of mobile templates is that they speed up the setup, but you should still tweak the trim to ensure your specific clips match the beat sync.
Can web video effects replace transitions entirely?
Not really. Effects like blur or light leaks are “sweeteners.” They amplify the impact of a cut, but they don’t replace the structural job of a transition. A well-placed cut needs to exist first; the effect just makes it shine.
Conclusion
Creating epic transitions isn’t about having the most expensive software; it’s about understanding flow. It flows from the precision of PC Transitions, gets polished by web Video effects, and finds speed in mobile templates.
Start by mastering the basics: align your motion vectors, sync your cuts to the beat, and don’t be afraid to experiment with the Pro and Hit categories. Whether you are building a high-octane montage or a moody travel piece, the tools are right there in CapCut’s ecosystem. Now, go cut something epic.