CapCut is already a popular app for video editing. It is the easiest platform by which beginners and other social media users become video designers. With its amazing features, CapCut has become one of the most downloaded apps in the world.
It enables you to create, edit, add filters, edit text and sound and make many other edits to the videos. Out of these competitive features it has, text-to-speech is one of the unique ones. With this ability, the ease of CapCut increases.
What is Text-to-Speech in CapCut?
Text-to-Speech is, just like its name suggests, automatically converting the text that you input into voice. You can select the gender, different voices, volume and speed of the speech created. This way you can add sound to your videos without actually having to record it. You also have options like story-telling, singing, serious female, etc. You will no longer have the need to record careful videos or filter noise or download voice.
So this option is the easiest way of inputting perfect sound to your videos.
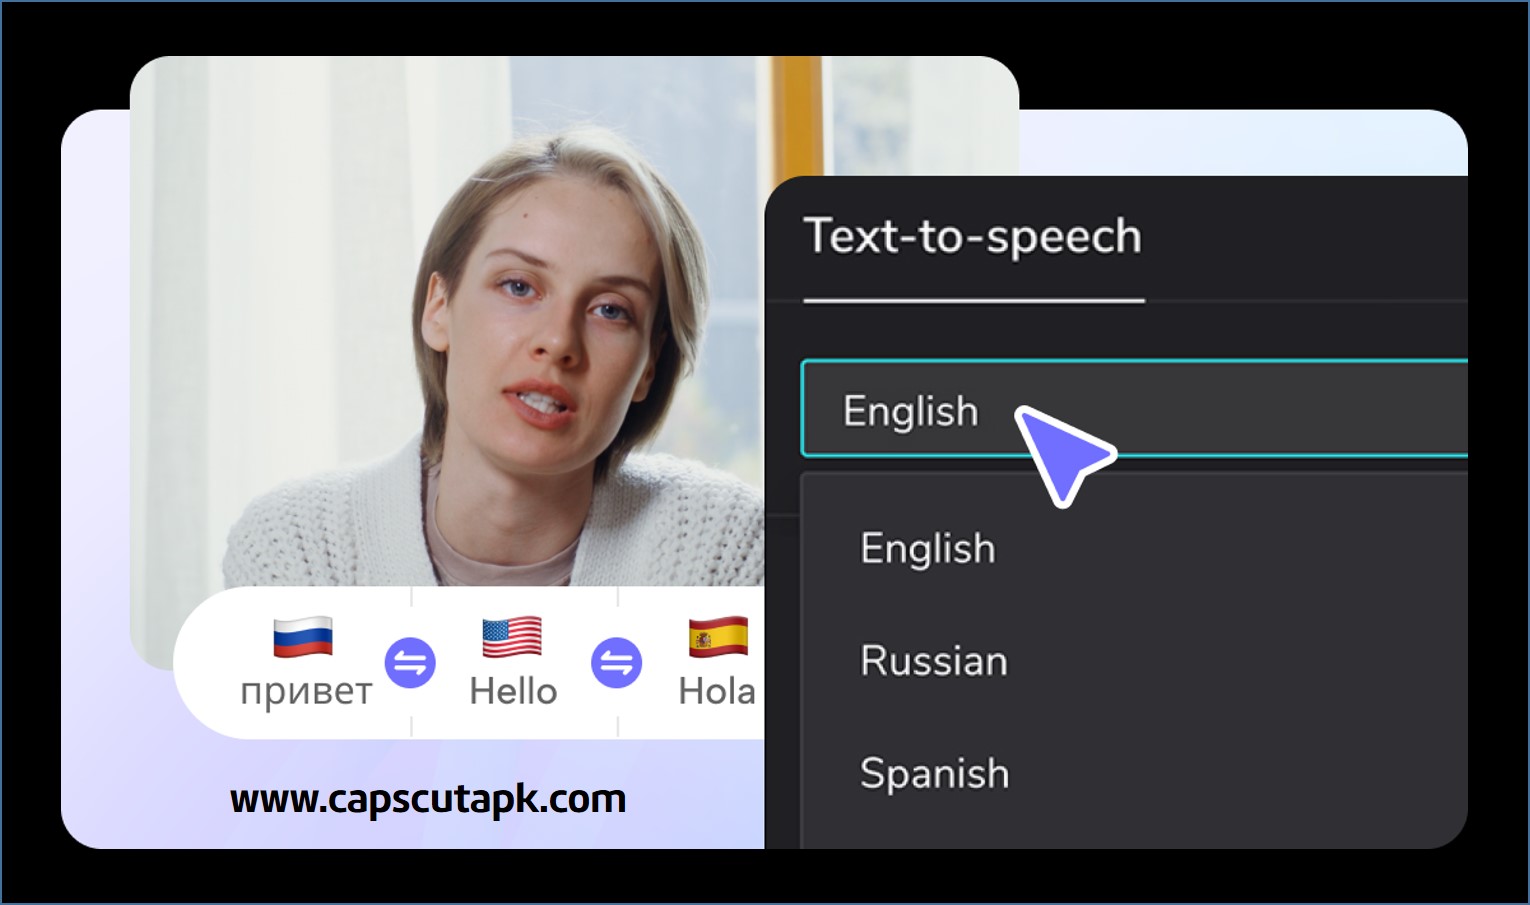
You can use Text-to-Speech in different languages. Many widely used languages are supported by this feature.
Step-by-Step Guide to Using Text-to-Speech:
Adding Text:
First you have to add text by either typing or pasting text that was copied from another source. To do this, first tap on the “Text” button in the edit screen. There you will see the cursor and the keyboard appear for you to type. Now you can highlight the text by swiping across them and use the formatting options available. These include bolding, italic, color changes, alignment, font style and many more.
Accessing Text-to-Speech:
Once you highlight the text typed in the editing screen, you will see the formatting options appear. Among them, you can find the “Text-to-Speech” option. This icon shows “Aa” in a message box and its name is shown underneath it. You can easily find the button. After that make sure you select the language of the speech. Almost all the popular languages are available in the app for you to select from.
Choosing Your Voice:
Now you must select one among the available voices of the app. There are both male and female voices plus baby voices. You will find fantasy, horror and thrilling voices as well. Some of these voices are Jessie, Chill Girl, Opera, Open Mic, Cozy, classic Electric, Energetic Male, Serious Female, etc. You can try each of them to your words and see how they sound before applying.
Previewing and Adjusting:
When you tap on a voice name, you can preview it by playing it using the “Play” button shown on top. This way, listen and find the best suit for your work. After that, you can adjust the speed and volume of speech from the adjusting options. If you think you need any punctuations to be pronounced, you can add them even in this stage while listening to the voice. Once you are sure of the editing, you can save it by tapping on the tick mark at the right-top. Finally press on the “Generate Video” button so that the final video will be saved.
Additional Tips and Tricks:
Matching Voice to Content:
Choosing voice is a selection that should be made wisely. Sometimes the voice could be attractive, but might not suit your video content. For example, if you are generating a marketing video, an angry female voice will not be suitable at all. In such a case, a young lady’s voice or a strong male voice will be a benefit. But on the other hand, if you are making an inspirational video, you may add an Open Mic voice to sound like you are speaking to a mic.
Adding Pauses and Emphasis:
If you think that the speech should pause or change style at some points, you can adjust it. This is by adding commas, periods, question marks, exclamation marks, etc. to the typed text. When you do this, the voice will pronounce the sentence according to those punctuations. This can be identified when you are previewing the speech with different voices. You can adjust the typed text while listening even, which is very easy. The voice you chose, will surely support these pauses and punctuation you added. The accent and language used will also affect the ways that the speech sounds. You can have more support when you adjust the speed.
Combining with Background Music:
Perhaps, you will have background music to the video already. In such cases, it is noisy when you add speech. To help you with this disturbance you can use a trick lick lowering the music volume when the speech starts playing. When doing this, also make sure that the voice you chose also matches with the music you have included. Because they are very different, the audience will be uneasy when they play it. This fact is important in all kinds of videos like, dancing, marketing, entertainment, quotes, inspirational, etc.
Conclusion:
As discussed, the feature of Text-to-Speech in CapCut is an amazing change in the video editing platforms. This new technique can bring surprising results to its users.
Instead of recording your own voice or having others speak for your video, you will have nearly a hundred options to choose your voice from. Besides, the selection of languages means that this method can be used all over the world without any problem.
With a few other tricks and tips, you can make the voice that you input sound really natural. Your friends will not recognize that this is auto-generated speech. Both the ladies’ and gents’ voices are genuine and even the fantasy voices are the same. The adjustments to the speech also make this unique ability complete.
So if you are a video maker, this will surely make your day easier. Also, if you do not have CapCut on your device, it is highly recommended to contain it to explore its amazing techniques. In fact, if you have CapCut and still not used Text-to-Speech, try it out right away. This is one of the best tricks to attract the attention of all your friends in social media.
1 thought on “How to Use CapCut Text-to-Speech Converter”
Comments are closed.