CapCut is a highly featured video editor that is already popular by now. It is free and is available for Android devices, iOS devices and even PC from the website. The app uses AI tools to enhance your videos and other graphics. You can use its vast libraries of filters, effects and templates to create trending videos that will amaze your friends.
CapCut is very simple to use. Even the professional edits can be done by any unskilled person and shared on their social media. It has originated from the TikTok family and the 2 apps support each other’s content perfectly.
What are Slow Mo Videos?
Slow Mo videos are the videos which include slow motion of graphics. This motion could be used only in a part of the video or even the whole video. Sometimes these motions are used to match with the background music included in the video.
You may have found a lot of such videos when you scroll down TikTok. This is a very popular effect. This is because it helps to deliver certain messages to the video viewer as the designer plans. Slow Mo is also related to the velocity edits in both TikTok and CapCut. However, Slow Mo videos give more details about the video content and draw more attention to the slowed part. So it is a very effective way of highlighting the important parts.
You can create Slow Mo videos if you know how to do it clearly and correctly.
Steps to create a Slow Mo Video in CapCut
- The first thing you need to have to do this is the CapCut app. So if you have not installed it on your device yet, please download and install it. If you have an Android device you may get CapCut from the Google Play Store. If you are an Apple user, you can get it from the Apple App Store by searching as “CapCut”.
- Once you have the app on your device or if you already had it, log in to your user profile. The new users will have to create a profile by signing up. Just give your username, email address and password so that the account can be completed. Now use the same username and password to log in.
- You have to start a new project now. This can be done by tapping on the button named “New Project” towards your left of the screen.
- The app will open your device storage. You can select a video from your device memory or external storage to import. Once you are sure about the selection click the “Add” button at the bottom.
- This video might be either downloaded from the internet or recorded from your own device camera. In these cases, the background music or the background noise will have to be removed from the video. If the video already contains usable music, it still needs to be removed. This is because when you slow down the motions of the graphic, it will not align with the music being played.
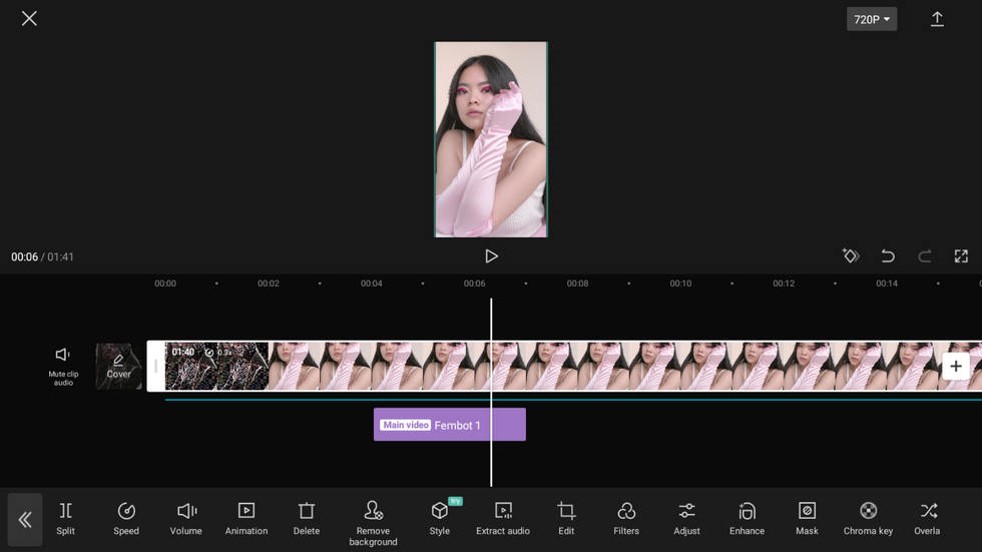
- To remove this music or noise, select the “Volume” option and reduce it to 0 by dragging it backwards.
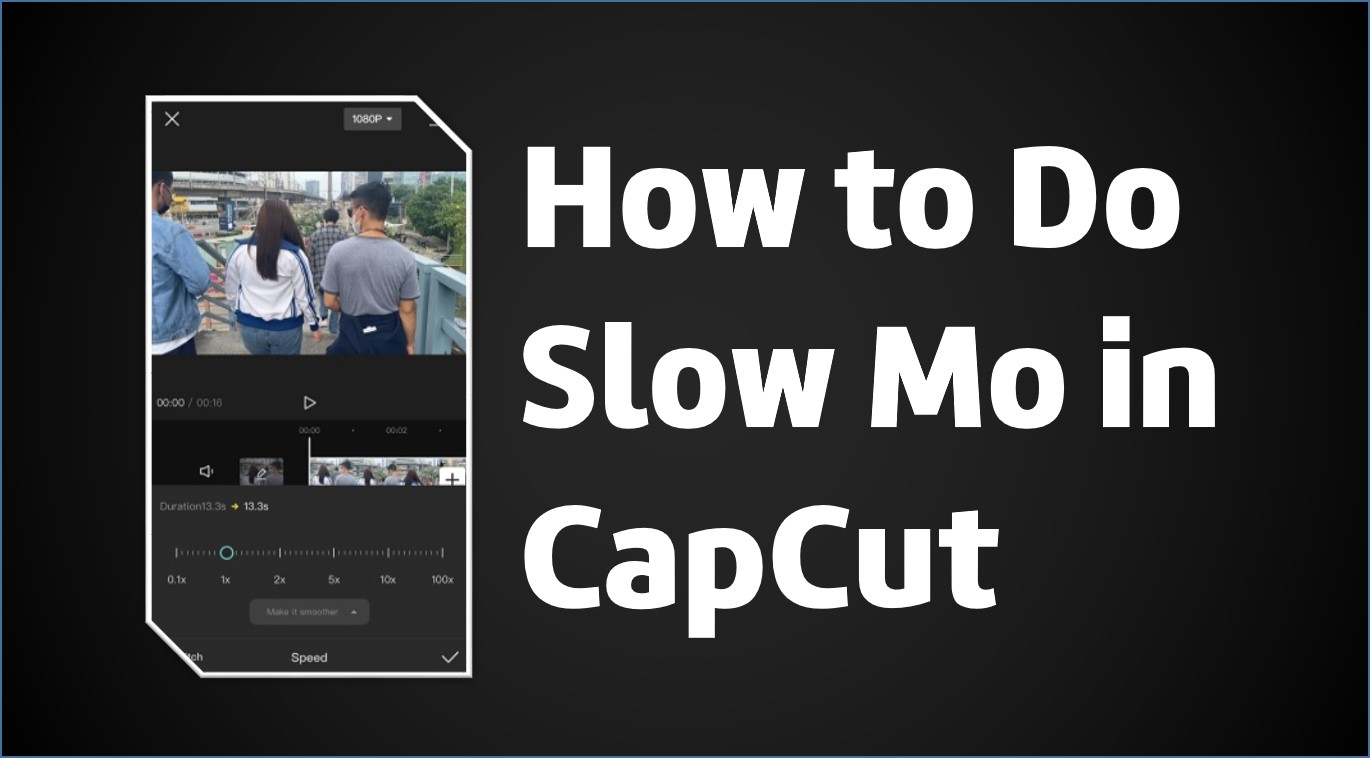
- Next, select the “Speed” button out of the series of options you get at the bottom of the screen.
- Select the sub-option “Normal”. You can slow down the full video from its normal speed to slower and slower form here. But if you want to apply the slow Mo to only selected parts, you should use another method.
- To slow down only a part of the video select the “Curve” option under “Speed”.
- This will display the speed curve of the video on the screen. You can drag and drop the curve as you wish by comparing the duration of the video. Drag the curve down to slow down the motion, and up to speed up the motion. The speed can be changed up to 10x times in both cases.
- You can check your speed editing from the upper previewing part of the screen while you adjust the speed. When you are satisfied with the Slow Mo edit, tap on the tick mark available at the bottom right corner.
- Save your work to your device from the “Save” button. If you want to directly share it on social media or export it, you can tap on the up-pointed arrow at the top right corner of your screen. Now choose your preferred social media platform and select your friend’s name to send the video.
Flashy Slow-Mo edits
You may have seen the videos with slow motions plus a white glow appearing around the characters in it. This is a very trendy and eye-catching effect, specially used on dancing videos. This is called the Flashy Slo-Mo effect. CapCut consists of many such blending effects that you can apply to your videos. You can also use these combined effects by customizing them.
To use this Flashy Slo-Mo effect on your video, you can follow these steps:
- Open the CapCut app, login to your user account and tap on “New Project”.
- To remove the background sounds, you can select the “Volume” option and drag it to 0. This will remove the sound from disturbing your velocity edit.
- Now again go to “Effects”. You will find the “White flashy body” effect under the “Body Effects” sub-option there. Tap on it.
- You can adjust the timing of this body effect by dragging the effect block along the timeline. As earlier, you can see the video effect from the preview screen on the upper half of the screen.
- Now you should add the Slo-Mo effect. To do this, go to the “Speed” option and select “Curve”.
- Just like when you did on the Slo-Mo adjustment earlier, you can drag and drop the curve in the necessary parts of the video. Drag it up to make it faster and drag it down to make it slower. Keep an eye on the preview screen too to have an idea on your end product.
- After the editing is completed and you are sure about the slow motion, white flash and the music blend together perfectly, click on the Ok button.
- Now save or export your video from the export button at the top.