Capcut is gaining popularity as a tool to create videos for social media. One of the most popular video editing tricks on CapCut recently is the velocity edit. This effect allows you to speed up or slow down portions of your video for dramatic effect. It can draw the viewer’s attention to important moments in your video or add a stylized flair. A velocity edit can make your videos stand out and captivate your audience.
In this simple step-by-step guide, I will show you just how easy it is to create a velocity edit using CapCut. With just a few adjustments and taps on your screen, you’ll master this trending video editing hack in no time.
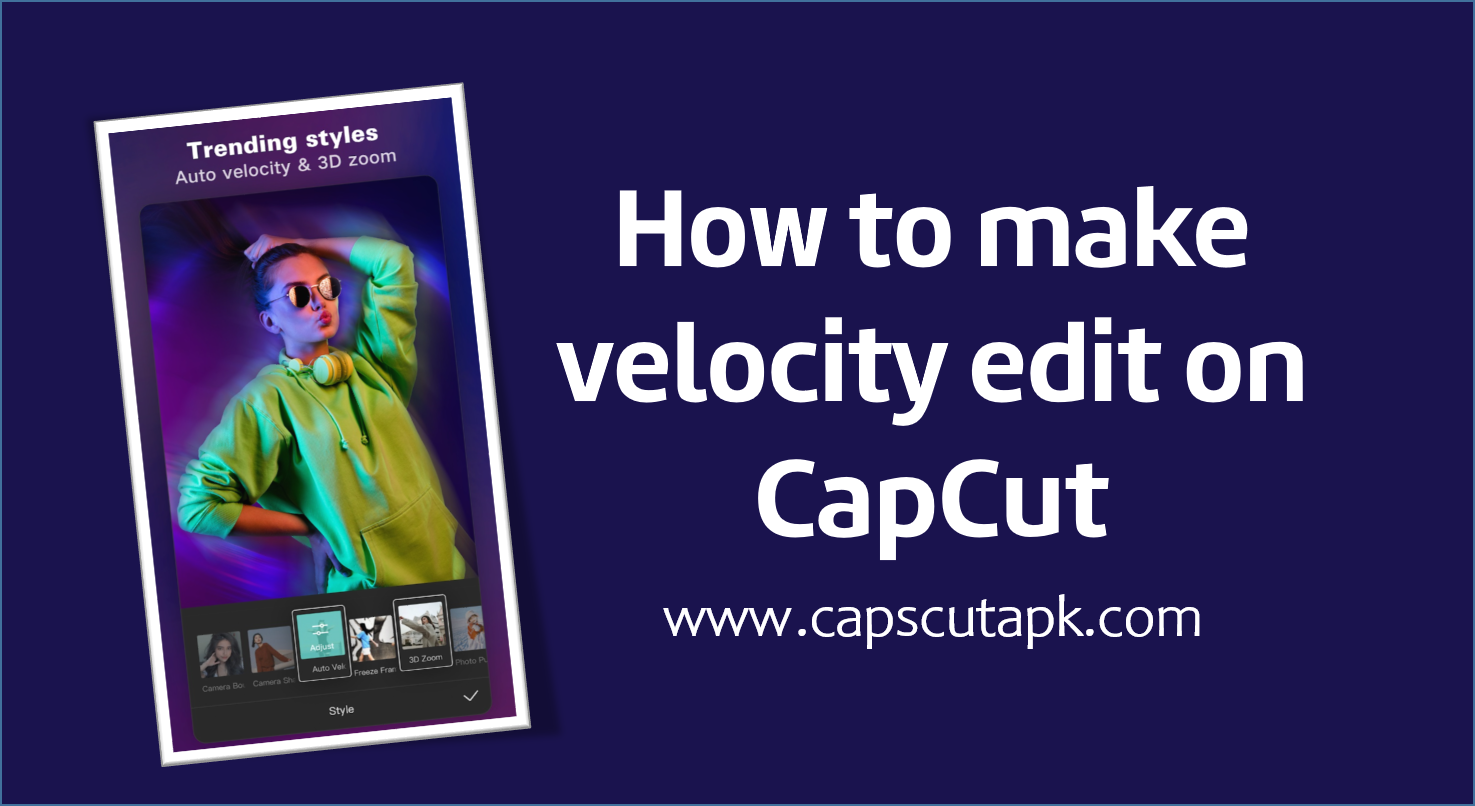
How to Make a Velocity Edit in CapCut
Step 1: Import Media Clip
Open CapCut and tap on the “Import” button at the bottom to upload your desired video clip that you would like to apply a velocity edit to. You can select a video from your camera roll or the templates of Capcut.
For this tutorial, I will be uploading a video clip of someone dancing from my camera roll.
Step 2: Trim the Video (Optional)
Once your video clip is imported into the CapCut editor, you can trim the length if needed to only the specific portion you would like to have the velocity edit applied.
To trim, place your playhead at the start point you would like, tap split, then delete the unwanted portion before your playhead. Repeat for the end point.
Trimming down your video clip can help focus the velocity effect only where necessary.
Step 3: Add Velocity Effect
With your video clip ready in the editor, tap on the “Edit” button at the bottom of your screen. This will open up additional editing controls.
Tap on “Speed” to open velocity editing options. Here you will see a speed curve over your video clip. This curve allows you to speed up or slow down portions by adjusting the height.
Tap the plus icon to add an adjustment point to your speed curve. Move the adjustment point up to increase speed and down to decrease for a smooth slow motion effect.
You can add multiple adjustment points to vary speeds throughout your video clip.
Step 4: Preview and Adjust
Once you have your speed adjustment points to your preference over the clip, tap the check mark to apply the velocity edit to your video.
Press play to preview how your velocity edit came out. Pay attention to the speed changes and if they align with the action as you intended at each part.
If needed, go back into “Speed” adjustments and modify your curve points so the velocity matches perfectly with the moments you want to accent in your clip. Adjust until satisfied.
Some additional things to consider with your velocity edit:
- Make sure to not overuse or make edits too drastic/fast – subtle and well-timed velocity tweaks often look best
- Speed ramp up action right before an impact or key moment
- Slow key moments down for emphasis
- Balance both speed ups and slow motions
Tweak velocity points until you have the editing style you desire for your clip.
Step 5: Add Effects (Optional)
Once happy with your velocity edit, consider adding additional video effects within CapCut to further enhance your edit.
Some effects that pair nicely with velocity edits include:
- Fast blur – blurs background automatically on sped up portions
- Zoom in -Dramatically zooms focus on a clip’s subject during slow motion
- Freeze frames – Pauses on a specific moment to place emphasis before speeding up again
- Retime effects like “Smooth”- Makes speed changes more gradual
Explore the different effects of Capcut to seamlessly integrate into your velocity edit to truly make it stand out.
Step 6: Export and Share
When your velocity edited video looks just as you envisioned, tap “Export” to save the final clip right to your camera roll.
From there, open your preferred social media apps like Instagram, TikTok or YouTube to upload your compelling velocity edit to share with others.
Consider using trending songs or hashtags so your video has a higher chance of getting discovered in feeds and going viral with this polished editing style.
Sit back and watch the likes/comments roll in from your audience! Iterating on what resonates can help you continue to master the velocity edit trend.
Save and Reuse Your Velocity Presets
Once you spend the time carefully crafting velocity points that accent the perfect moments in your clip, you can easily save those adjustments as a preset to use again in the future.
To save a preset, after creating your velocity edit points open the speed adjustments and click the three dots icon in the top right corner. Choose ‘Save as Preset’ and give your preset a descriptive name.
Now whenever you apply a velocity edit to a new clip, you can quickly access and apply your saved presets by selecting the three lines icon next to speed adjustments. Then tap on ‘Presets’ to see all your custom saved files.
Using presets makes it simple to have consistent, signature velocity styles ready to elevate all your future videos with just one tap. And you can still tweak points as needed while leveraging the preset as a starting point.
Saving out your custom presets helps jumpstart velocity edits apply your developed editing sensibilities efficiently going forward. This saves time while still allowing flexibility to put your own spin on fantastic edits.
Become a Velocity Edit Expert
As you can see, creating a stand-out velocity edit for your videos is simple with just a few taps using the user-friendly tools of Capcut. With this easy-to-follow tutorial, you now have the skills to captivate audiences with custom speed adjustments.
So, put these steps into practice and unleash your creativity. Continue tweaking and refining your velocity editing style until it becomes second nature. Before long, you’ll be viewed as an expert velocity edit video creator both by fans and other editing enthusiasts.
1 thought on “How to Make Velocity Edit on CapCut [Full Tutorial]”
Comments are closed.